Veggie Enchiladas!

Oh blog!  I haven’t written in three weeks and I have missed blogging!  I started my new job on January 21, and I have been crazy busy, but I appoligize for leaving you hanging!

image

Yesterday I made the most amazing enchiladas, and I just had to share this new recipe with you!

Super Veggie Enchiladas

Note: this recipe makes a HUGE double batch. I like to freeze half of the filling, and half of the sauce for another time.

16 oz bag frozen spinach
16 oz bag frozen artichoke hearts (or can)
10 oz bag of frozen corn
3 bell peppers (different colors)
5 cloves garlic minced
2 small cans diced green chilies
Green onions (chopped)
1 can diced olives
15 tortillas (I used corn)
2 cups shreaded cheese
2 packages cream cheese
16 oz sour cream
24 oz chilie verde sauce

That is A LOT of stuff. I know. But once you eat these, you will fall in love. They are amazing.

image

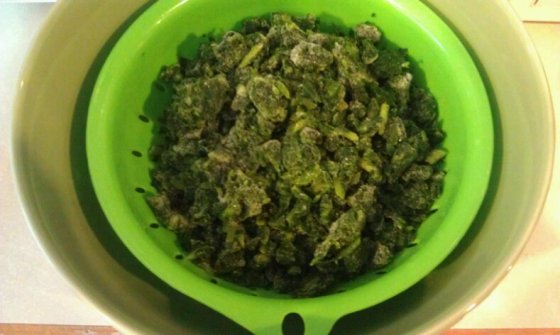
First, preheat the oven to 350. Then, put the frozen spinach in a collander in a bowl and heat it in the microwave for a few minutes.

Next, use a large spoon to smoosh the spinach (squishing out excess water through the collander). Try to remove as much of the water as possible.

image

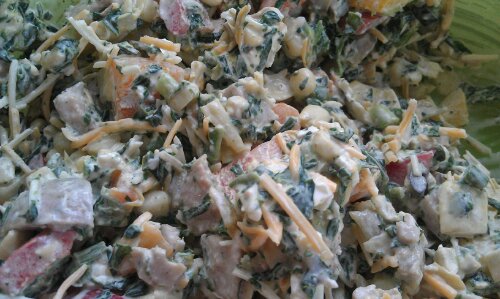
Now we add most of the ingredients in a large bowl. Add everything except ONE can of chilies, half the cheese, the sour cream, the chilie verde sauce and the tortillas (duh).

Mix everything together and spice it according to what you like. We like to add a dash of the following: salt, pepper, cayenne, paprika, and chipotle chilie pepper.

image

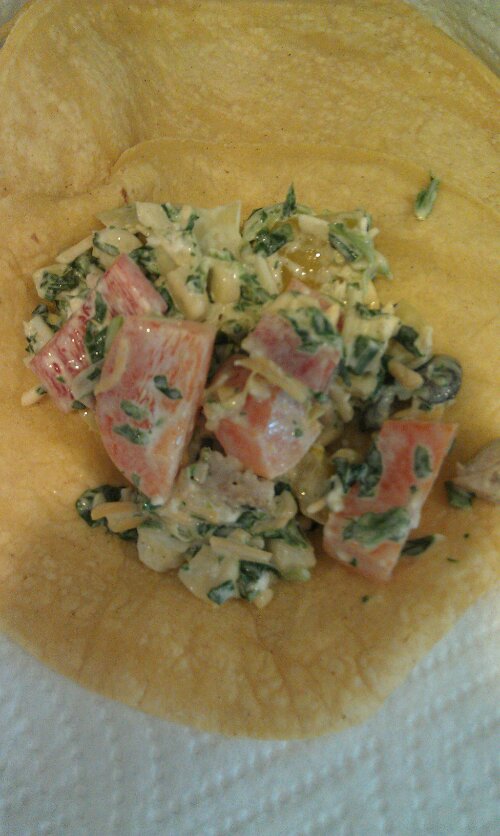
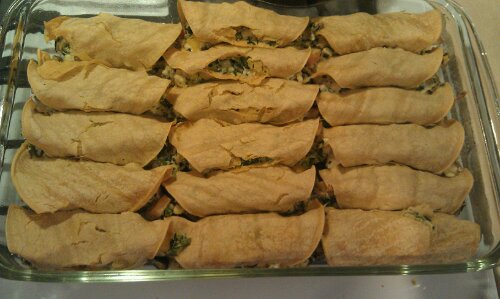
Heat the tortillas in the microwave for 30 seconds to soften them. Scoop a generous spoonful on to each tortilla and roll it up! Place them seam side down on a greased 13×9 casserole dish. (Half of the filling will be saved in a freezer bag for another time.)

image

Don’t they look lovely? (you may notice there are 17 here, but who’s counting?)

Put the enchiladas in the oven for 30 minutes.

image

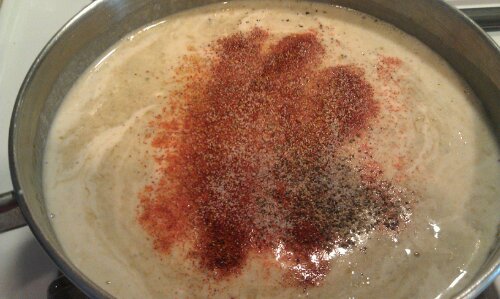
Now we make the sauce! In a pot, stir together the last can of chilies, the sour cream, and the chilie verde sauce. I also added the same spices that I added to the filling. Simmer the sauce for 5-10 minutes, until it is bubbly and awesome, then keep on low until the casserole is done.

image

When the 30 minutes is up, cover enchiladas with the rest of the cheese and return to oven just until the cheese melts.

image

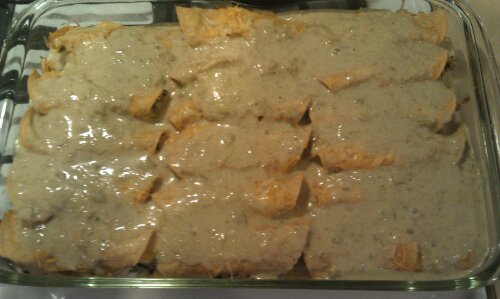
Pour half of the sauce over the enchiladas (yum!) And put the rest in a freezer container for later.

image

Top with green onions and you’re done! 🙂

I hope you enjoy this recipe as much as I have. Please share your thoughts! This is still in the works.

Until next time!

The Meringue Skirt

Image

Oh readers, I have missed you!  This week has been crazy, and my crafting life has hit many obstacles in the last week.  When I last wrote, I was preparing to sew two beautiful Colette Patterns, and yet the progress I have made has been minimal. 

When I was preparing to cut the fabric for the Meringue skirt, a giant blue ink stain appeared on my white polka dot fabric!  I was so shocked and dismayed that I completed avoided it for days, and worried I may have to purchase new fabric since the stain was right in the middle of where I would cut out.  But after calming my nerves, I did a bit of research online and found out that ink stains can be removed using nail polish remover!  Sure enough, I was able to gently dab the stain away using this method and then began to work on my skirt. 

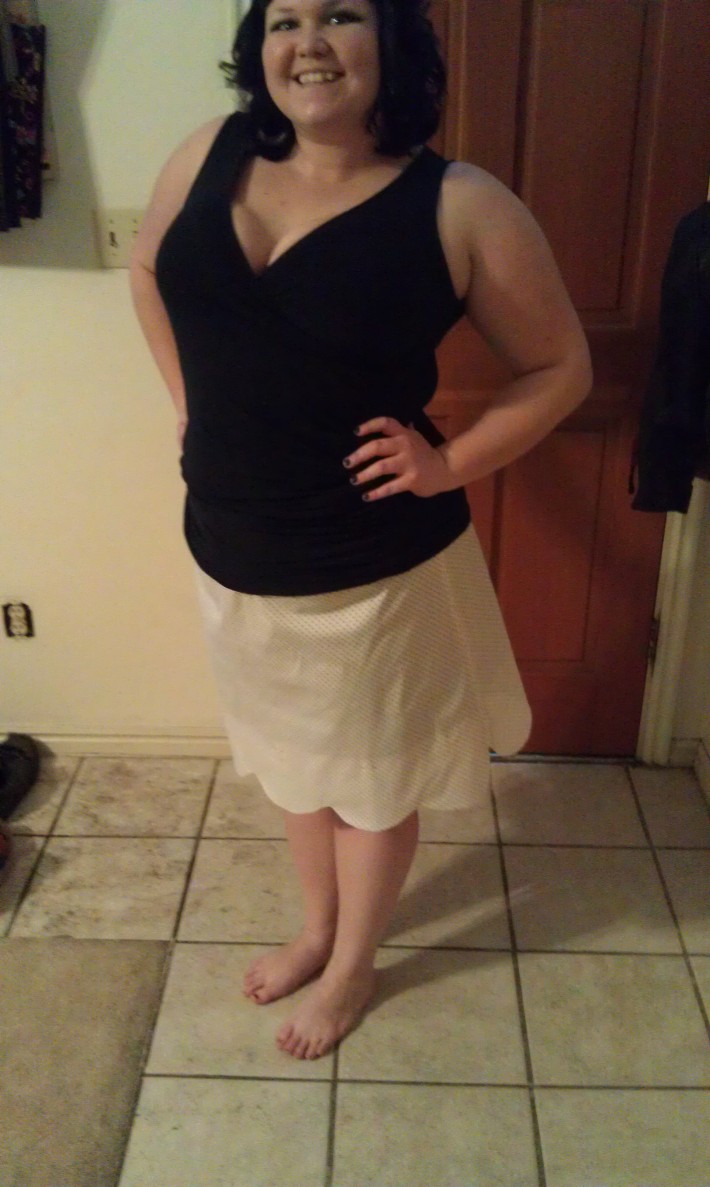
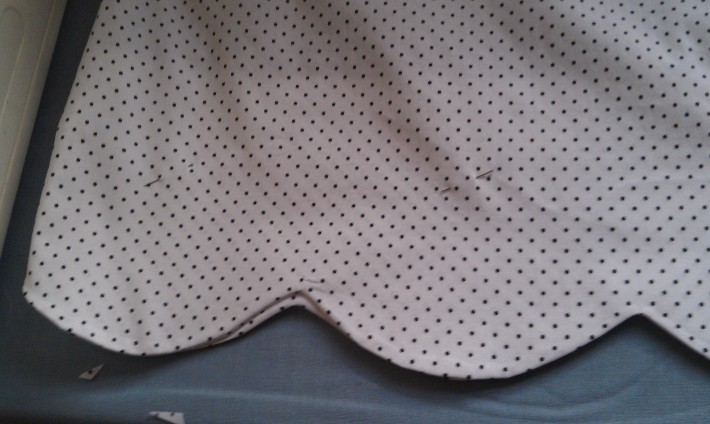
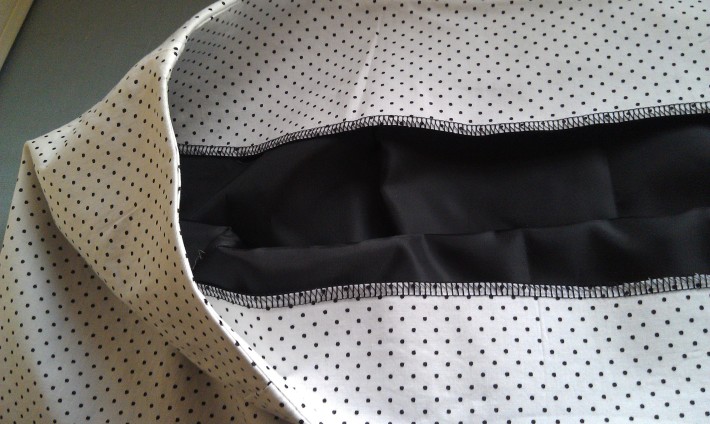
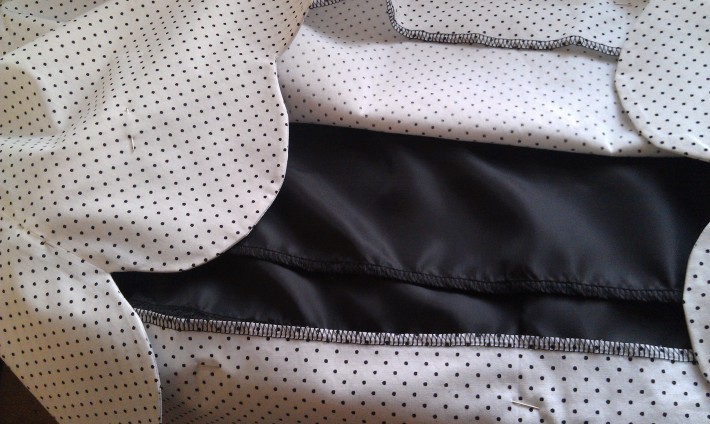
I purchased an invisible zipper foot on Ebay and it is absolutely amazing!  I usually struggle (like most people) to put in a zipper, and it NEVER looks right, but this zipper went in beautifully and was a piece of cake!  The wonderful scalloped edge is done by adding a facing, and the top as well.  I added a lining because the fabric is white, and voila!  I have finished it almost completely!  After I hand-sew the facings with a catch stitch, I will be done, but I couldn’t wait to show you…So here it is!
Image

ImageImage

Preparing to Sew Colette Patterns: Jasmine and Meringue

IMAG0626

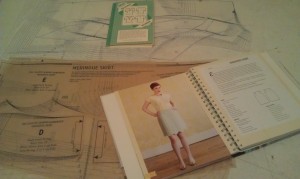
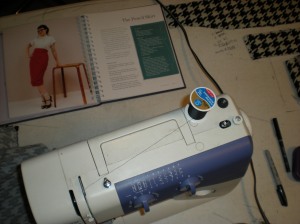
I recently purchased The Colette Sewing Handbook, and it is absolutely fantastic!  Sarai Mitnick (the author) breaks down clothing construction to “five fundamentals” and describes the importance of each in beautiful detail.  I recently purchased fabric with 3 Colette Patterns in mind: the Meringue skirt (featured in the book), the Jasmine blouse (a separate pattern), and the Hazel dress (another printed pattern).  Eventually, I would like to make ALL of the Colette patterns, but for now I am starting the first 2 on my list: the Meringue skirt, and the Jasmine blouse.

Sarai Mitnick recommends starting each sewing project with a “thoughtful plan,” and so this time, rather than rush through the cutting and pinning and marking and boring stuff, I decided to take my time and work on being precise and patient.  I carefully examined the finished garment measurements and compared them to my own.  Like many new and innovative pattern makers, Sarai Mitnick has her own version of sizing and since I am new to the fit of her patterns, I must take extra time to get the right fit.  I was surprised that her sizing seemed much closer to my actual measurements than any other size chart.  I am extra curvy and usually have to span multiple sizes to get everything right.  With these patterns, I only made alterations to the top of the skirt, giving myself just a little extra wiggle room in the waist. 🙂

IMAG0619

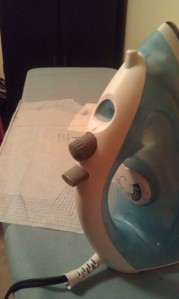
Pattern cutting and tracing and marking is undeniably the most BORING part of sewing.  The prospect of having to do this with new patterns makes me procrastinate and drag my feet, but these patterns are so beautiful I could wait no longer.  Taking Sarai Mitnick’s advice, I decided to try to look at the patterns in a different light.  I very carefully cut the patterns roughly from their original tissue sheet and ironed them until they were pristine.  The warm sheets of pattern felt comforting on such a cold day and I focused on enjoying the sensation.  (It is currently 8 degrees here).

IMAG0623

I have a giant roll of tracing paper that I bought at a local art store.  After ironing my pattern pieces, I placed them under the tracing paper and carefully transferred the cutting lines and markings for my size.  To add some width in the waist, I carefully graded my size out with a ruler and transferred the markings accordingly.

IMAG0628

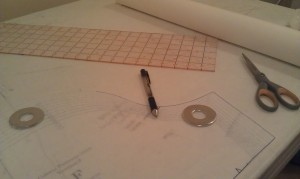
As you can see, I am using large metal washers as pattern weights.  I got this idea from reading Sarai Mitnick’s blog on sewing.  Since “pattern weights” are super expensive, this is a GREAT IDEA.  I bought 2 packs of “Create-A-Bolt” from Home Depot.  At $4 a piece, this “Create-A-Bolt” package comes with 4 hex nuts, 4 flat washers, and 4 lock washers, all at 3/4″.  Amazing.

Anyway.  This is as far as I have gotten tonight.  The patterns are crisp and clean and full of potential.  Tomorrow I will take my freshly washed fabric and carefully cut the pieces and begin the sewing process…………

Stoked! 🙂

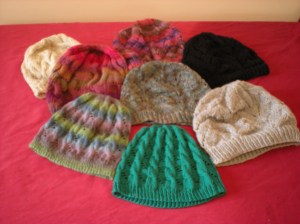
I am a Hat Factory.

IMAG0612

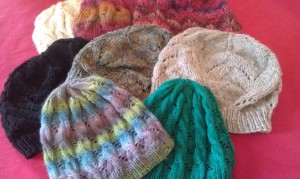
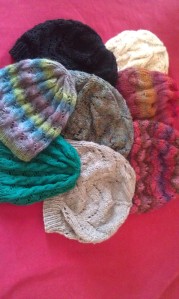
Whenever I find I hat pattern that I really like, I seem to always make a bunch of them.  I guess there is something oddly satisfying about a meditative project that knits up quickly.  After making a hat once, I always feel like the second time would be much faster and easier, and then the third time is even better than that!

The first hat I really loved was the Star Crossed Slouchy Beret.  After making one for myself, I ended up making one for both of my sisters, my mother, my boss, my best friend, some random guys from work, etc. etc.  I couldn’t seem to stop making them!  One day, I was half-way through another for myself and I decided I was DONE.  No more hats.  Time to move on.

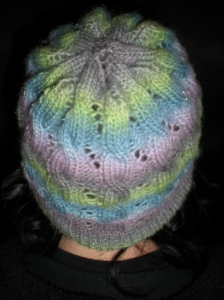
That was 2 years ago, but this year, I seem to be a hat factory all over again.  In September I started making the Boardwalk hat and made 10+ total, including the gifts for my family and others.  Sometimes I would make the hat with the recommended worsted weight, but more often than not, I chose a delicate sock yarn that left the hat lacey and beautiful.

IMAG0613DSCN0826

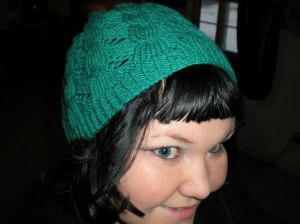
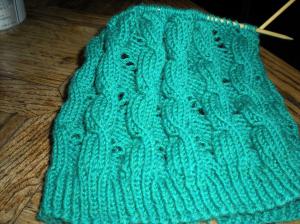
I was enjoying sock weight yarn so much, that when I began selfish knitting I chose to knit the Hermione hearts Ron hat.  Before I knew it, I was finished and already casting on another!  This hat knits up so beautifully and fits my head perfectly.  I wonder if I will eventually make 10+ of these as well?…

DSCN0811DSCN0809

Do you ever find patterns that you love to knit again and again?  Why is it that a knitting pattern that is easily memorized is so zen?  Am I just crazy for being a “hat factory” or do you find yourself in the same position?  Please share, I’m dying to hear what you have to say on the subject!

Until next time, dear readers! 🙂

DSCN0805

Snow Day!!!

DSCN0815DSCN0821

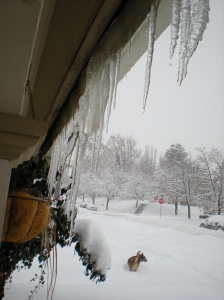
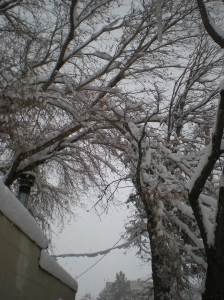
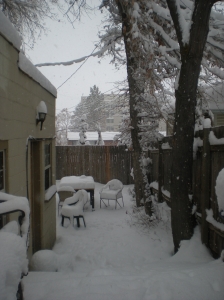
Living in Salt Lake City, I’m used to snow.  Here, we have fluffy, powder snow that comes and goes all winter long.  But over the past 24 hours, we have gotten over a foot of snow all at once!  The snow plows can’t even keep up, and my car is buried on the side of the road.

Can’t say I’m complaining though!  Since we can’t go anywhere, it’s a SNOW DAY!  I guess I’ll just have to stay home and craft all day.  🙂

DSCN0814DSCN0816


Do you get extreme weather where you live?  Or is it always sunny?  Mid-January I always am hating the snow, but on days like this we get the fire going and I’m happy to be stuck.

DSCN0812DSCN0818

Loaded Potato Pods!

DSCN0833DSCN0828

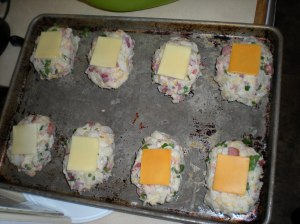
These are my “Loaded Potato Pods!”  I came up with the recipe a few years ago, but never took the time to write it down until now.  They are very similar to “twice-baked potatoes,” but rather than packing them back into the skin, you mash the skin down with all the other ingredients and then form “pods” to bake.  These are NOT healthy.  But they are amazing!

Enjoy!

Karen Sofie’s Loaded Potato Pods

3 lbs red potatoes

1 small yellow onion

1/2 cup diced ham

1/4 cup crumbled bacon

8 oz package cream cheese

2 cups sharp cheddar cheese (plus extra for topping)

2 tsp chopped garlic

1/4 cup fresh chopped chives

2 tsp seasoned salt

1/2 tsp pepper

1 Tbsp olive oil

Preheat oven to 425.

Dice potatoes to approximately 1/2″ square.  Boil potatoes until tender, (about 11 minutes).

Meanwhile, dice the onion and cook it on medium with the olive oil.

When tender, drain but do not rinse potatoes.  Place them in a large mixing bowl and begin a course mash.

(You want the potatoes to still have some large chunks).

Add all ingredients (except for topping cheese) to the potatoes and mix well.

With your hands, form “pods” that are the size of potatoes and place on a greased cookie sheet.  Top with cheese.

Bake for 15 minutes, or until cheese is bubbly.  🙂

DSCN0734

New Year, New Job, New Hair, New Knits

HairAM

This new year has already brought so many changes to my life, it is amazing!  I can finally say, that I am no longer under-employed!  Having graduated from college 2.5 years ago into this frightening economy, I was quite certain I would never get a “real” job, but I was wrong!  I am happy to say that I will be starting my dream job on January 21!

With this good news, my boyfriend Paul and I decided we should get sweet new hair cuts.  I decided it was time for bangs, and he got an awesome mohawk (which may soon be dyed blue).    The picture at the top was taken before our style change, and this picture below is after.

DSCN0764

Don’t we look great?!

Anyway, with all this great news and excitement, it has been hard to find time to blog, but that doesn’t mean I haven’t been knitting!  I have come so far on the hat and shawl.  Check it OUT! 🙂

DSCN0746DSCN0745

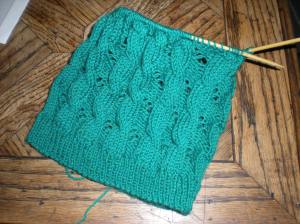
This hat it almost done.  I can’t wait to wear it.  I know that many people have had problems with the Hermione Hearts Ron hat fitting, but I have a small head so I ‘m not worried…

DSCN0754DSCN0753

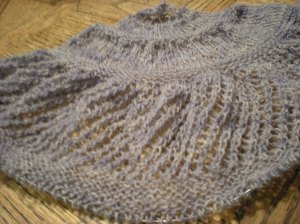
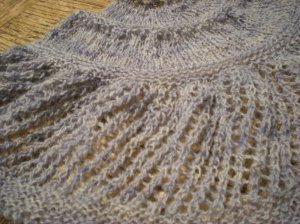
This shawl is knitting up so QUICK!  I think this is my favorite project ever.  As I said before, I have knit this before, but am loving the Radiance Shawl, again.

How is your new year going?  Have you started any projects yet?  Or are you still getting into the groove of a new year?


Sewing Gertie’s Pencil Skirt – in Houndstooth

pencil01pencil02

I recently received Gertie’s New Book for Better Sewing in the mail.  Now, if you’re not familiar with Gertie’s New Blog for Better Sewing, let me tell you–she is amazing.  Her blog is extremely well written and includes amazing tutorials on sewing vintage.  When her book was released a few months ago, I was dying to get it, and finally it arrived at my doorstep.  Gertie has an amazing eye for vintage patterns and color, and I couldn’t wait to see how her book turned out.

Just as expected, the book is brilliantly written and full of gorgeous illustrations and photographs.  She discusses vintage techniques in a way that is understandable without being “dumbed down.”  The book also includes amazing patterns and variations to make 13+ gorgeous vintage staples.

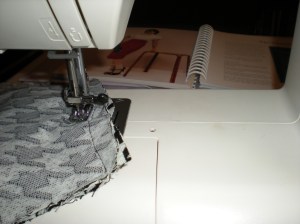
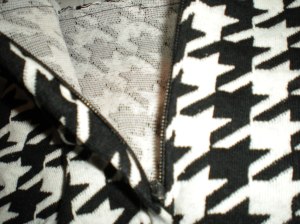
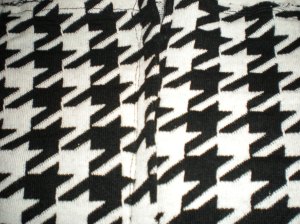
Before I knew it, I was starting “The Pencil Skirt” with some fabric from my stash.  I chose a gorgeous houndstooth with a little stretch.  Having been in my stash since high school, I am embarrassed to say, I have no idea what the fabric content is!  After being laundered in cold water, it seems to be fine, so I am assuming it is a cotton/poly blend of some sort.

pencil04

Unfortunately, where I live there are very few fabric stores and non with much fashion fabric selection.  Up until recently, I have been making various items out of “quilter’s cotton,” but I have learned the error of my ways!  I recently discovered Denver Fabrics, and ordered a few selections for upcoming projects–but more of that later!

pencil03

Back to “The Pencil Skirt.”  I knew immediately that I would have to change the pattern.  Gertie is much taller than I am, and I believe her patterns reflect that.  Being only 5’4″ and having stubby legs, I had to chop nearly half of the length from the pattern.  But other than that, everything seemed great!  So far, I have sewn all the pieces together and attached the zipper.  Next I will be adding a button and buttonhole, finishing the inside with some hand-sewing, and hemming the skirt.

Wish me luck!


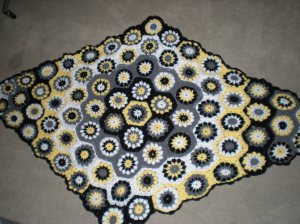
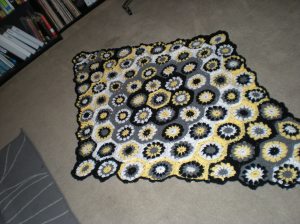
Crochet Hexagon Afghan

hexagons01 hexagons04

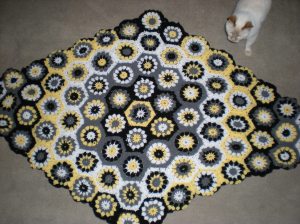
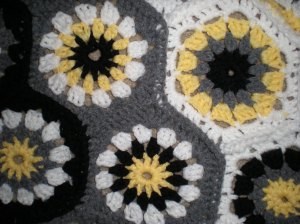
A while back, I started crocheting a bunch of hexagons using the pattern from Hexagon How-to.

I will admit, I didn’t really think they would all ever be complete, and the project was stashed for nearly a year under the bed in Area-51 (where UFOs live).  Note: “UFOs” are unfinished objects!

I finally dug out this project and realized I didn’t have that much further to go!

hexagons05

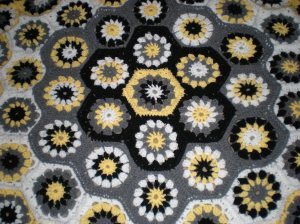
I laid out the hexagons I had already made on the floor and decided how the afghan should be put together, and then started single-crocheting them all together.  Before I knew it, I was finished!

I’m usually not a “yellow” person, but the colors went together beautifully and I LOVE the finished result.

hexagons02hexagons03

I’m usually much more of a knitter than a crocheter, but occasionally, a crochet project will strike me and I just have to make it.

Are you a knitter or crocheter or neither?  It seems many people lean towards one or the other, but I find beauty in both.  Please share your thoughts!

New Beginnings: Selfish Knitting!

hermionehat01

With all of the Christmas gift knitting complete, it is time for SELFISH KNITTING! *squeal*

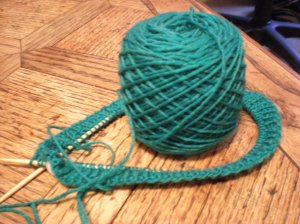
I decided to cast on two projects for myself.  First, the Hermione Hearts Ron hat with my leftover yarn from my mom’s hat and fingerless mitts.  I decided to start this hat because the cable and lace pattern will make it stretchy and soft, and at only 150ish yards, it will be a quick and satisfying knit.

DSCN0704

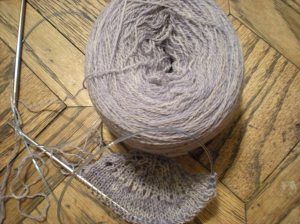
Secondly, I cast on a project that will take a LONG TIME.  The Radiance Shawl is gorgeous, but at 900 yards, it takes a while.  There are only 205 rows, but the last few rows have 700+ stitches!  I have already made one before with a sock weight Patons Lace, but this time I will be using a real lace weight that I purchased from Kitty Rabbit Kreations.  It is a cold periwinkle/gray that he named “prejudice”.  I love this color!

I only have 800 yards of “prejudice” so I will be modifying the pattern: removing certain rows and hopefully making that 800 yard goal.  Wish me luck!

What “selfish knitting” are you starting now that the holidays are over?  Do you like to start multiple projects at once or stick to just one?  Please share, dear readers! 🙂